Hosta 'Gold Standard' in October: monthly care
Month-by-month care — Hosta 'Gold Standard'
In October your hosta 'Gold Standard' needs attention: plant / sow and prune.
- Plant / sow
- Prune
What to do this October
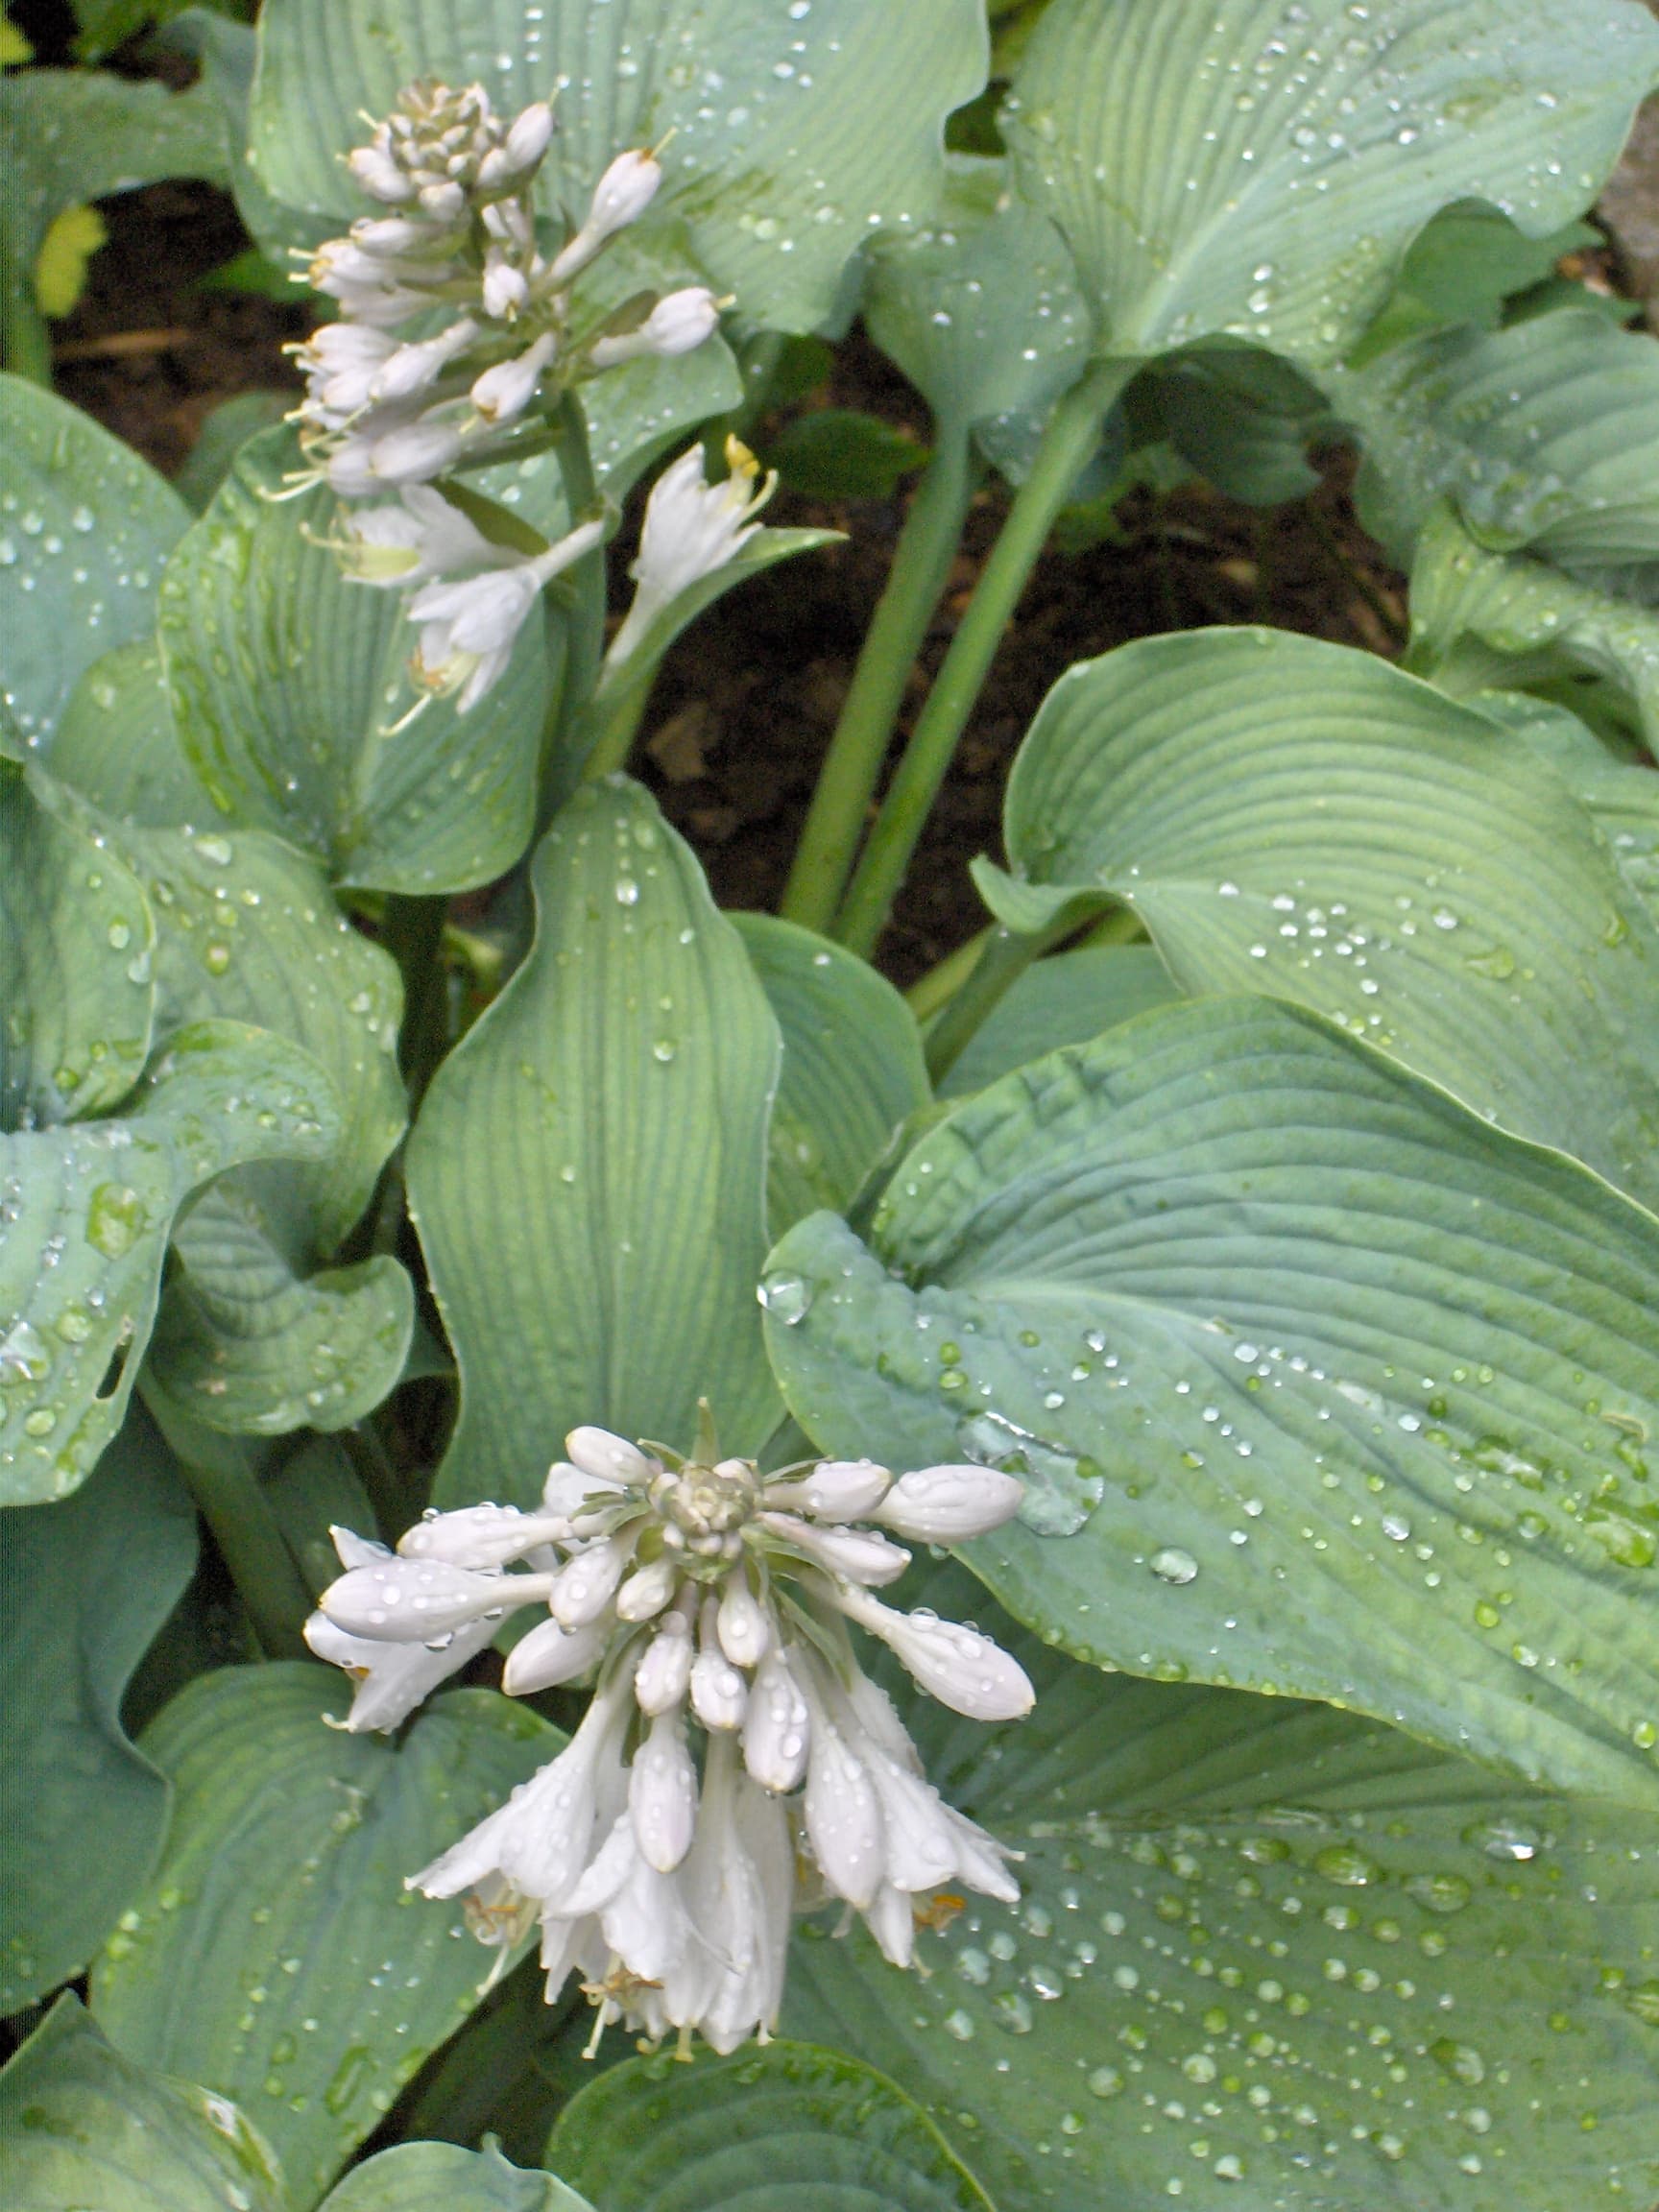
Hosta 'Gold Standard' thrives in partial or full shade, making it ideal for borders under trees, woodland gardens, or north-facing beds where many other perennials struggle. Avoid sunny spots, as strong sunlight can scorch the leaves and fade the distinctive gold colouring. The plant prefers loam or clay soil that holds moisture well but doesn't become waterlogged. Plant bare-root or potted hostas in March, April, or May for spring planting, or in September and October for autumn planting. Both windows work well, though spring gives the plant a full growing season to establish. Prepare the soil by digging in plenty of organic matter—garden compost or well-rotted manure—to improve structure and moisture retention, especially if your soil is heavy clay. Dig a planting hole roughly twice the width of the root ball and deep enough so the crown (where roots meet shoots) sits level with the surrounding soil surface. Space plants 60 cm apart to allow for their mature spread of 60–80 cm. Hostas form substantial clumps over time, so resist the temptation to plant closer. Backfill with the improved soil, firming gently to eliminate air pockets. Water thoroughly immediately after planting to settle the roots and ensure good soil contact. Apply a 5 cm layer of mulch—bark chips, leaf mould, or compost—around the base, keeping it clear of the crown itself. This conserves moisture, suppresses weeds, and provides a barrier that slugs and snails find less appealing. Keep the soil consistently moist through the first growing season while the root system establishes.
Hosta 'Gold Standard' requires very little pruning in the traditional sense, as it's a herbaceous perennial that dies back naturally each autumn. The main task is tidying up spent foliage rather than shaping or cutting back for health. In October or November, once the leaves have been blackened by the first frosts and turned mushy, cut the entire plant down to ground level using secateurs or a sharp knife. Some gardeners prefer to leave the dead foliage in place over winter as a natural mulch and to mark the plant's position, then clear it away in early spring before new shoots emerge. Either approach works, though autumn removal reduces hiding places for slugs and snails, which are the hosta's main enemy. If you leave foliage standing, remove it by late February before fresh growth begins. During the growing season, snip off the tall flower spikes once the purple blooms have faded, cutting them down to the base of the stem. While hosta flowers are attractive, leaving spent spikes in place diverts energy from foliage production. If you prefer the flowers for their architectural interest or to attract pollinators, leave them until they've fully finished, then remove. Check regularly for damaged, yellowing, or slug-eaten leaves throughout summer. Remove these at the base of the leaf stalk to keep the clump looking tidy and to reduce the risk of fungal problems in damp weather. No special tools are needed—secateurs or even a sharp tug will do. Hostas are forgiving plants, and you won't harm them by removing tatty foliage as needed.