Garden phlox 'David' in March: monthly care
Month-by-month care — Phlox paniculata 'David'
In March your garden phlox 'David' needs attention: plant / sow and prune.
- Plant / sow
- Prune
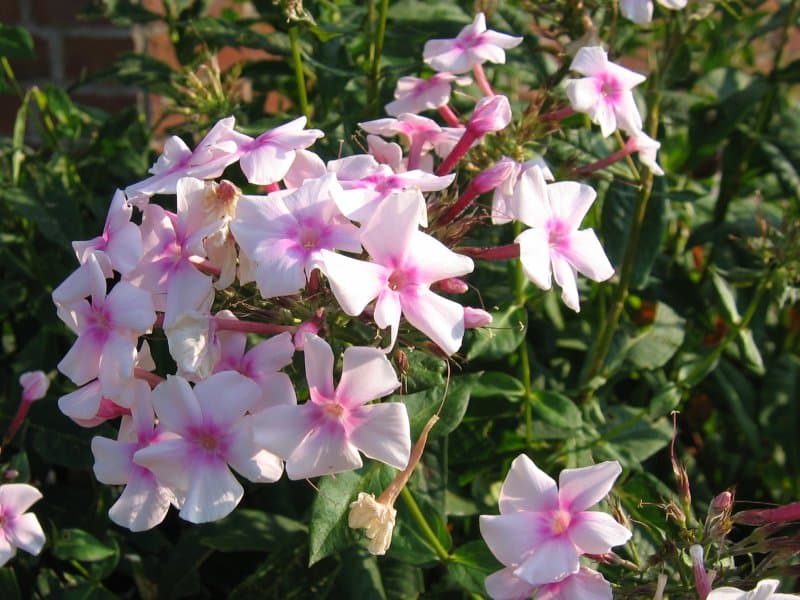
What to do this March
Phlox paniculata 'David' thrives in full sun or partial shade, though flowering is strongest with at least six hours of direct sunlight daily. Choose a spot with good air circulation to reduce the risk of powdery mildew, a common issue with border phlox. The soil should be moisture-retentive but well-drained; loam and clay soils are ideal, provided they don't become waterlogged in winter. Prepare the planting area by digging in plenty of well-rotted compost or manure to improve fertility and moisture retention. If your soil is heavy clay, work in some horticultural grit to improve drainage. Plant in March, April or May for establishment before summer, or in September and October when the soil is still warm and autumn rains help roots settle in. Dig a hole slightly larger than the root ball and plant so the crown sits level with the surrounding soil surface—avoid burying it too deeply. Space plants 50 cm apart to allow for their mature spread of 50–70 cm and to ensure good airflow between clumps. If planting multiple specimens, stagger them slightly rather than in rigid rows for a more natural effect. Water thoroughly after planting to settle the soil around the roots and eliminate air pockets. Apply a 5 cm layer of organic mulch such as garden compost or well-rotted manure around the base, keeping it clear of the stems to prevent rot. In exposed sites or if your soil is particularly rich, consider placing a support hoop or canes around young plants in spring; 'David' can reach 80–120 cm and heavy flower heads may flop after rain.
Phlox paniculata 'David' benefits from two main pruning interventions each year. In March, as new growth begins to emerge, cut back all the previous year's stems to ground level or just above the fresh basal shoots. Use clean, sharp secateurs and remove the old brown stems completely—they serve no purpose and can harbour pests and disease spores over winter. This spring cut-back encourages strong, healthy new growth and helps maintain a tidy clump. During the growing season, deadhead spent flower trusses regularly by cutting back to the next set of leaves or side buds. This encourages a second, smaller flush of blooms in late summer and prevents the plant wasting energy on seed production. Simply snip off the faded flower head where it meets the stem; you'll often find smaller side shoots ready to develop. In November, after flowering has completely finished and the foliage begins to die back, you can cut the stems down to around 10–15 cm above ground level. Some gardeners prefer to leave this task until March, and there's merit in both approaches: autumn cutting tidies the border and removes potential overwintering sites for phlox eelworm and mildew spores, while leaving stems standing provides some winter structure and a little protection for the crown during hard frosts. If your clump becomes congested or flowering diminishes after three or four years, lift and divide it in March or April. Discard the woody central portion and replant vigorous outer sections, spacing them as you would new plants. This rejuvenates the clump and is an excellent opportunity to improve the soil with fresh compost.